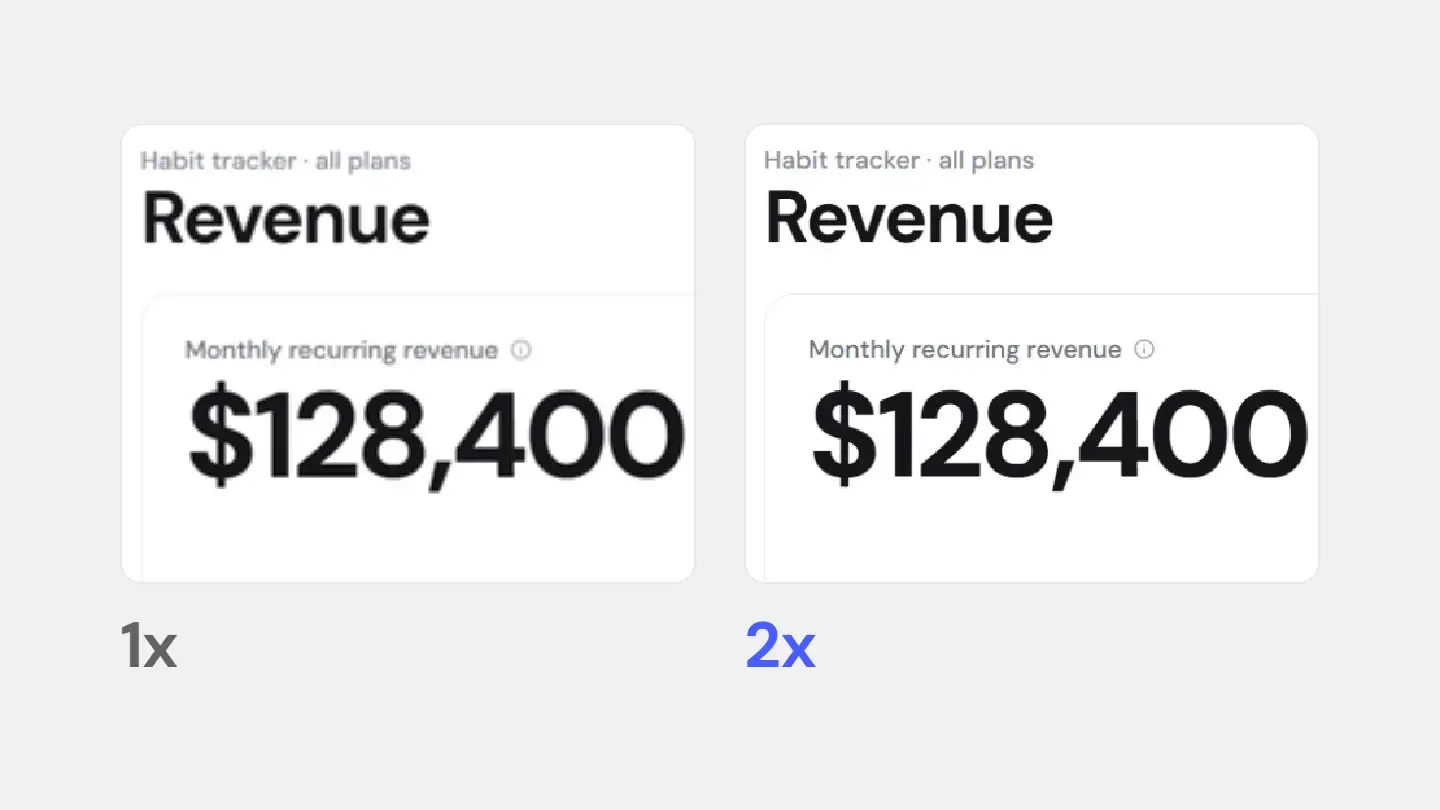
The short answer
A screenshot has exactly as many pixels as the part of the screen it captured — no more. So the resolution is decided before you press the keys: capture on a high-density display (a Retina Mac, a Windows laptop at 150% scaling or more, any recent phone), capture only the region you need, and send the file rather than a compressed photo. On any monitor, Chrome DevTools can capture a web page at 2x or 3x.
Why screenshots come out blurry
Only one of the usual causes happens at the moment of capture. On a standard display one pixel of the interface is one pixel of the image; shown on a Retina screen or a phone, each of those pixels is stretched over four, and text goes soft. The other causes come later: chat apps, email and document editors often re-encode images and scale them down to save space, so the file that arrives is not the file you made; and an image placed in a slot wider than itself is upscaled by the browser.
Swipe the table to see more →
| Cause | What you see | Fix |
|---|---|---|
| Captured at 1x | Sharp on your screen, soft on a phone or a Retina laptop | Capture on a high-density display, or at 2x in Chrome DevTools |
| Shrunk on the way | Blocky edges and smeared text after you send it | Send it as a file, not as a compressed photo |
| Shown bigger than captured | Text goes soft when the image fills a wider slot | Capture or export at twice the display size |
| Saved as a low-quality JPG | Ringing around letters, muddy flat colours | PNG or lossless WebP for interface shots |
On a Mac
Shift-Command-3 captures the whole screen, Shift-Command-4 a region you drag, Shift-Command-4 and then Space a single window, and Shift-Command-5 opens the Screenshot app with a timer and a choice of where to save. Add Control to any of the shortcuts to copy the capture to the clipboard instead of saving a file. Screenshots land on the desktop as PNG files; on macOS Tahoe 26 the Options menu can capture HDR as HEIF instead, so keep SDR (Most Compatible) for anything you will share.
The resolution comes from the display, not from the shortcut. On a Retina display every point is two pixels across, so a window 1440 points wide is saved 2880 pixels wide — a 2x screenshot without trying. On a standard external monitor the same window comes out 1440 pixels wide, so move it to a Retina screen before you capture.
On Windows
Windows logo key + Shift + S opens the Snipping Tool overlay with Rectangle, Window, Full screen and Freeform modes. The snip goes to the clipboard and is saved automatically to your Screenshots folder.
Here resolution follows display scaling. Windows captures physical pixels, so on a laptop at 150% scaling every element of the interface is drawn with one and a half times the pixels it has at 100% — and so is your screenshot. If text in your captures looks thin, raise the scale under Settings › System › Display › Scale before you capture, or capture on a higher-density screen.
On iPhone
Press the side button and volume up together — on models with Touch ID, the Home button and the side or top button. Phone screens are high-density already, so an iPhone screenshot is a full-resolution file: 1206 × 2622 pixels on an iPhone 17 Pro, 1320 × 2868 on a 17 Pro Max. For a whole web page, take the screenshot in Safari, open it and choose Full Page: Safari saves the page as a PDF rather than an image. To keep the full resolution when you share it, send the file itself — AirDrop, Files or a cable — rather than a photo in a chat.
In Chrome, at any density
Chrome DevTools can capture a web page at a higher density than your screen has. Open DevTools and turn on the device toolbar, choose More options › Add device pixel ratio, and pick 2 or 3 from the DPR menu that appears. Then More options › Capture screenshot saves the viewport, and Capture full size screenshot saves the whole page. The file has two or three times the pixels of a normal capture, on any monitor.
Keep it sharp after the capture
- Send it as a file. Many messengers compress photos; where the app lets you, send the screenshot as a document or a file instead.
- Crop instead of shrinking. If the platform will show the image small, crop to the part that matters rather than scaling the whole window down.
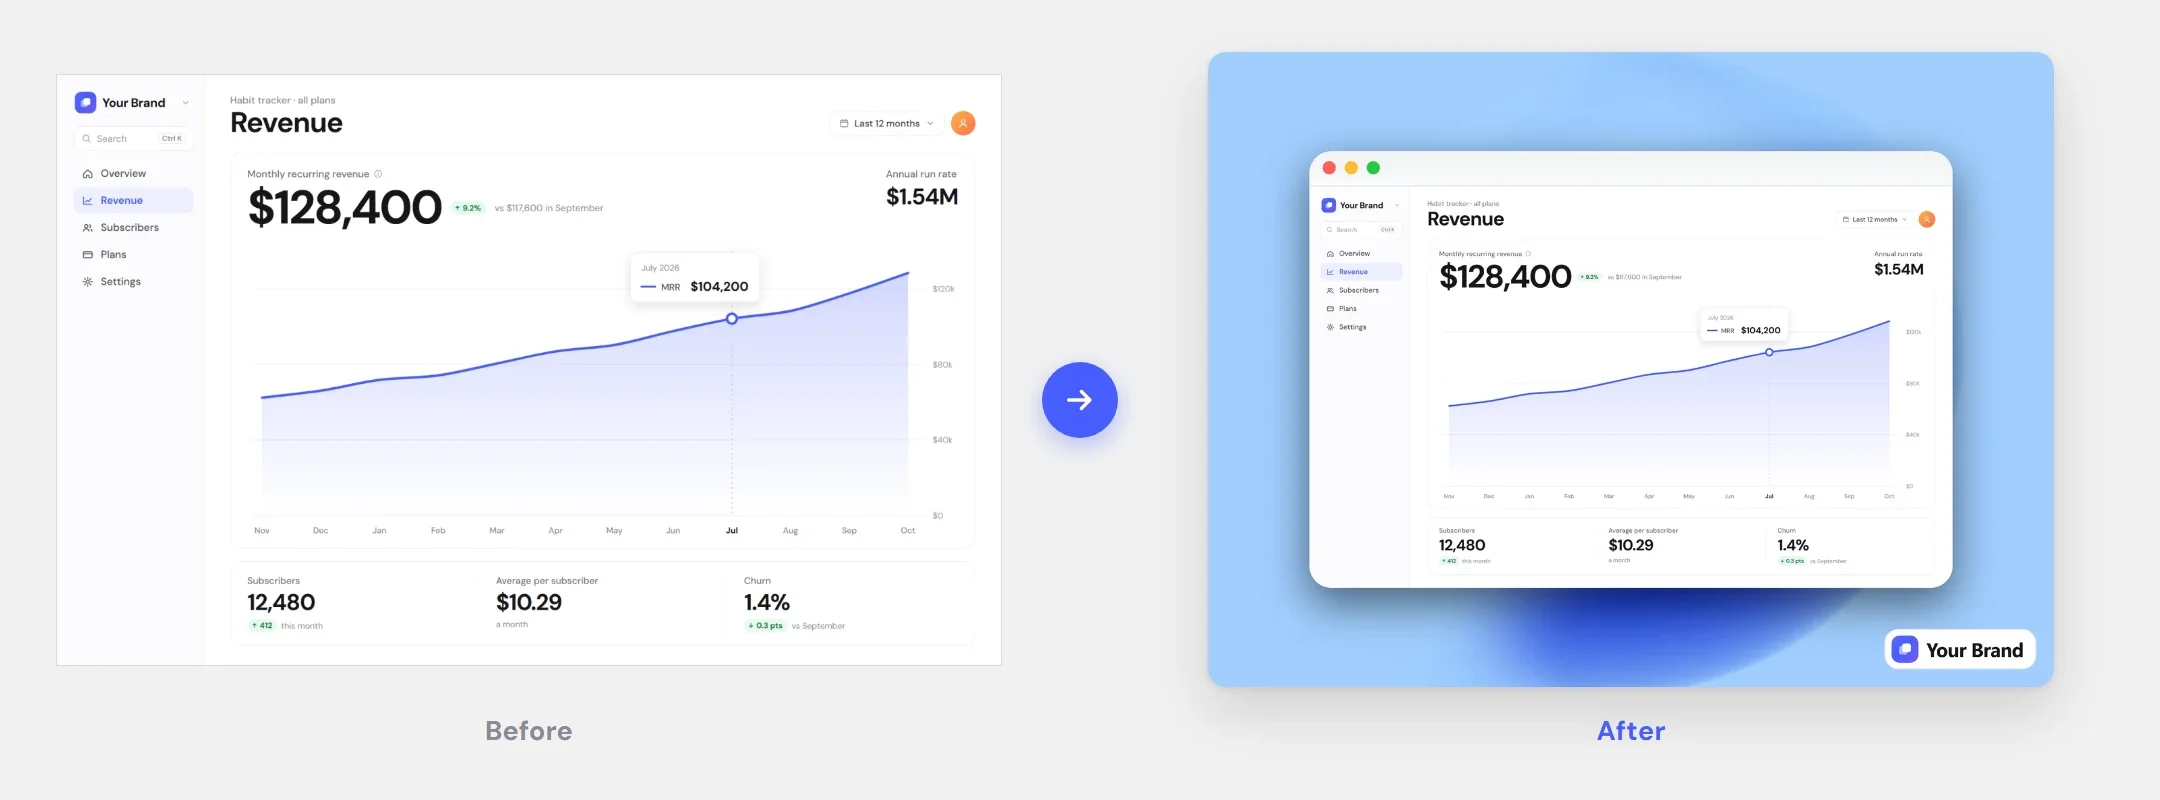
- Export at 2x. When you style the screenshot, export it at twice its display size — in Screenshots.Guru exports render well above the preview, a 16:9 image at up to 3840 × 2160 — and at an exact size when a store asks for one. More on high-resolution export.
- Keep it lossless. PNG or lossless WebP for interface shots; a low-quality JPG puts ringing around every letter. The numbers are in which screenshot format is best.
Export at 2x without thinking about it
Drop a screenshot in and export it at 2x, or at the exact size a store asks for, in the browser.