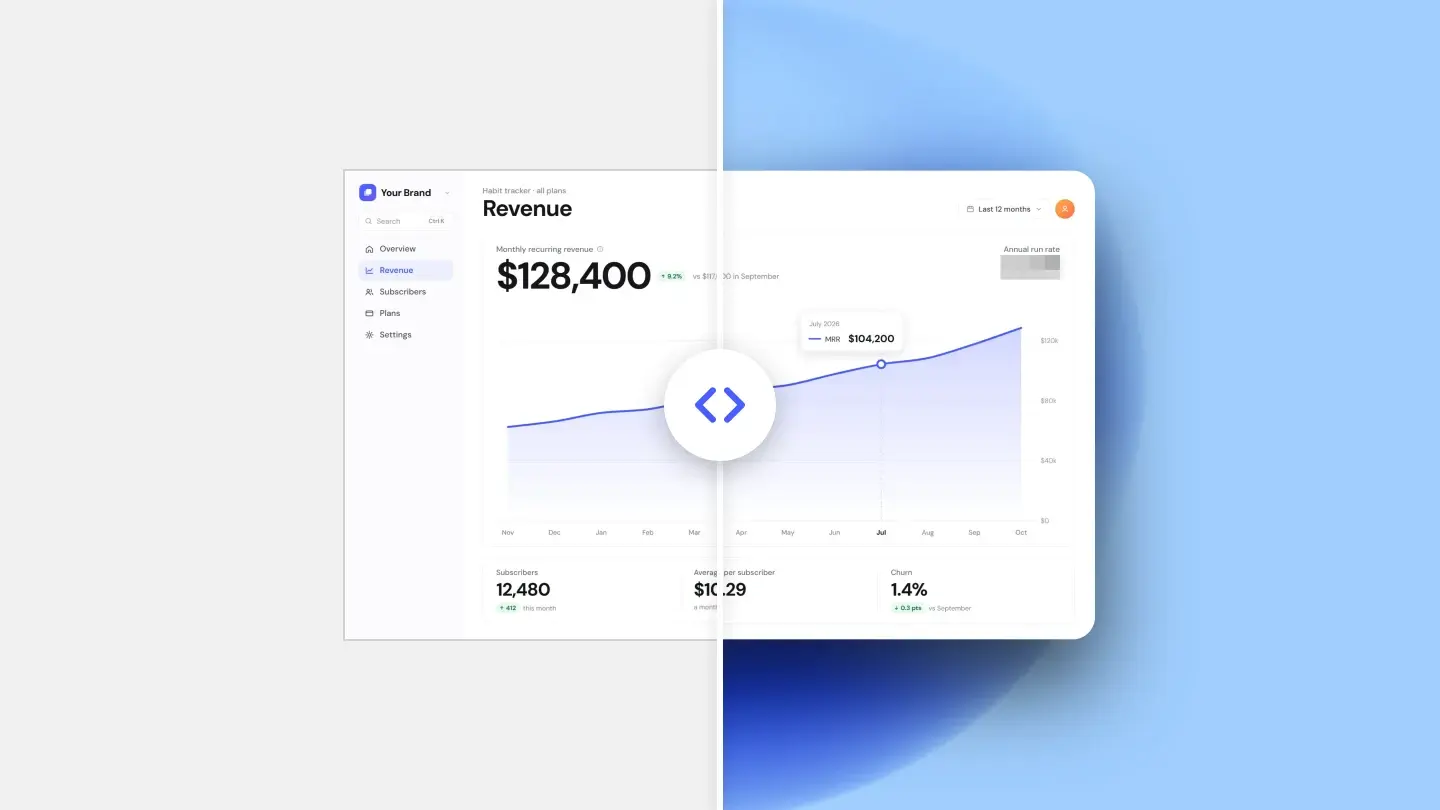
The short answer
Editing a screenshot is five small decisions, made in this order: crop it where you take it, hide anything private, give it room and a background, frame it with a shadow, and export at 2x. None of it needs a design app, and once you know the moves the whole pass takes about a minute.
The order matters. Cropping first keeps every pixel you captured. Hiding before styling means the private parts are gone before a copy of the file exists anywhere else. And the frame and the shadow only make sense once the margin and the background are decided.
Swipe the table to see more →
| Step | Do this | Skip this |
|---|---|---|
| Crop | Capture only the region you need | Cropping a full-screen shot inside a chat app |
| Hide | Black out or pixelate names, numbers and keys | A light blur over short text |
| Room | A margin of about 5% and one calm background | Interface running into the edge of the image |
| Frame | A window, browser or device frame and a shadow that falls down | A glow on every side |
| Export | 2x, as PNG or lossless WebP; JPG for the stores | A 1x file shown on a 2x screen |
1. Crop it where you take it
The cleanest crop is the one you never have to make. Every system can capture just a region:
- Mac: Shift-Command-4 and drag for a region; Shift-Command-4, then Space, for a single window (hold Option as you click to leave the window’s shadow out); Shift-Command-5 for the Screenshot app with every option.
- Windows: Windows logo key + Shift + S opens the Snipping Tool overlay, with Rectangle, Window, Full screen and Freeform modes.
- iPhone: the side button and volume up together (the Home button and the side or top button on models with Touch ID), then crop in the preview that opens — on iOS 18 and earlier, tap the thumbnail in the corner first.
Cropping later works too, but do it in an image editor, not in a chat app or a document: those scale the image down as they go, and the lost pixels do not come back. If the region has to come out larger than your screen shows it, capture on a high-density display — the details are in how to take a high-resolution screenshot.
2. Hide what should not be seen
Look at the whole capture before you share it, not just the part you meant to show: names and avatars, email addresses, revenue and order numbers, API keys, the address bar, open tabs and bookmarks, notification banners. Then hide them so they stay hidden. The three usual tools do different things:
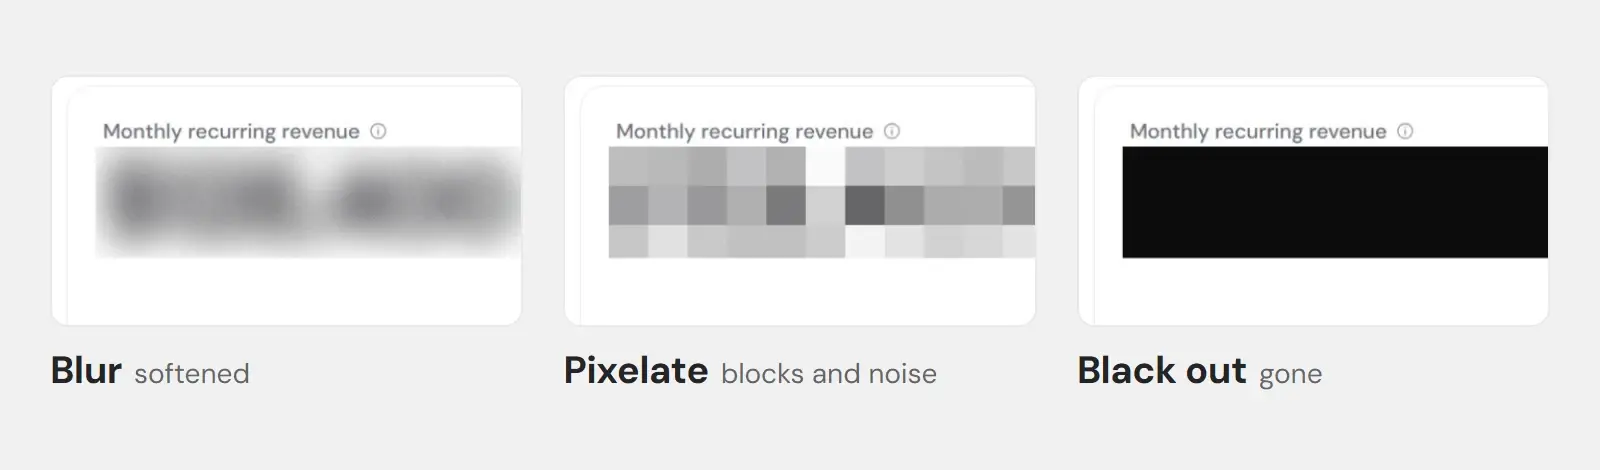
- Black out removes the pixels. Use it for anything that must never be recovered: passwords, keys, tokens, card numbers.
- Pixelate replaces each block with its average colour, so a name or a number disappears while it stays clear that something was there. Small blocks are not safe: researchers have recovered pixelated text when the font and the block size are known — the open-source Unredacter tool does exactly that. That is why Screenshots.Guru sizes the blocks to the height of the area you hide, so a line of text you drag over is only about three blocks tall, and adds a little noise to each one.
- Blur softens rather than removes. A strong blur over a whole area is fine for context; a light blur over short text such as a name or a code can often still be read, or guessed.
Whatever you use, make sure the change is in the pixels of the file you send. A black box drawn as a separate layer in a PDF or a slide can be moved aside by whoever receives it. In Screenshots.Guru, Blur & mark up writes the change into the screenshot itself before anything is exported.
3. Give it room and a background
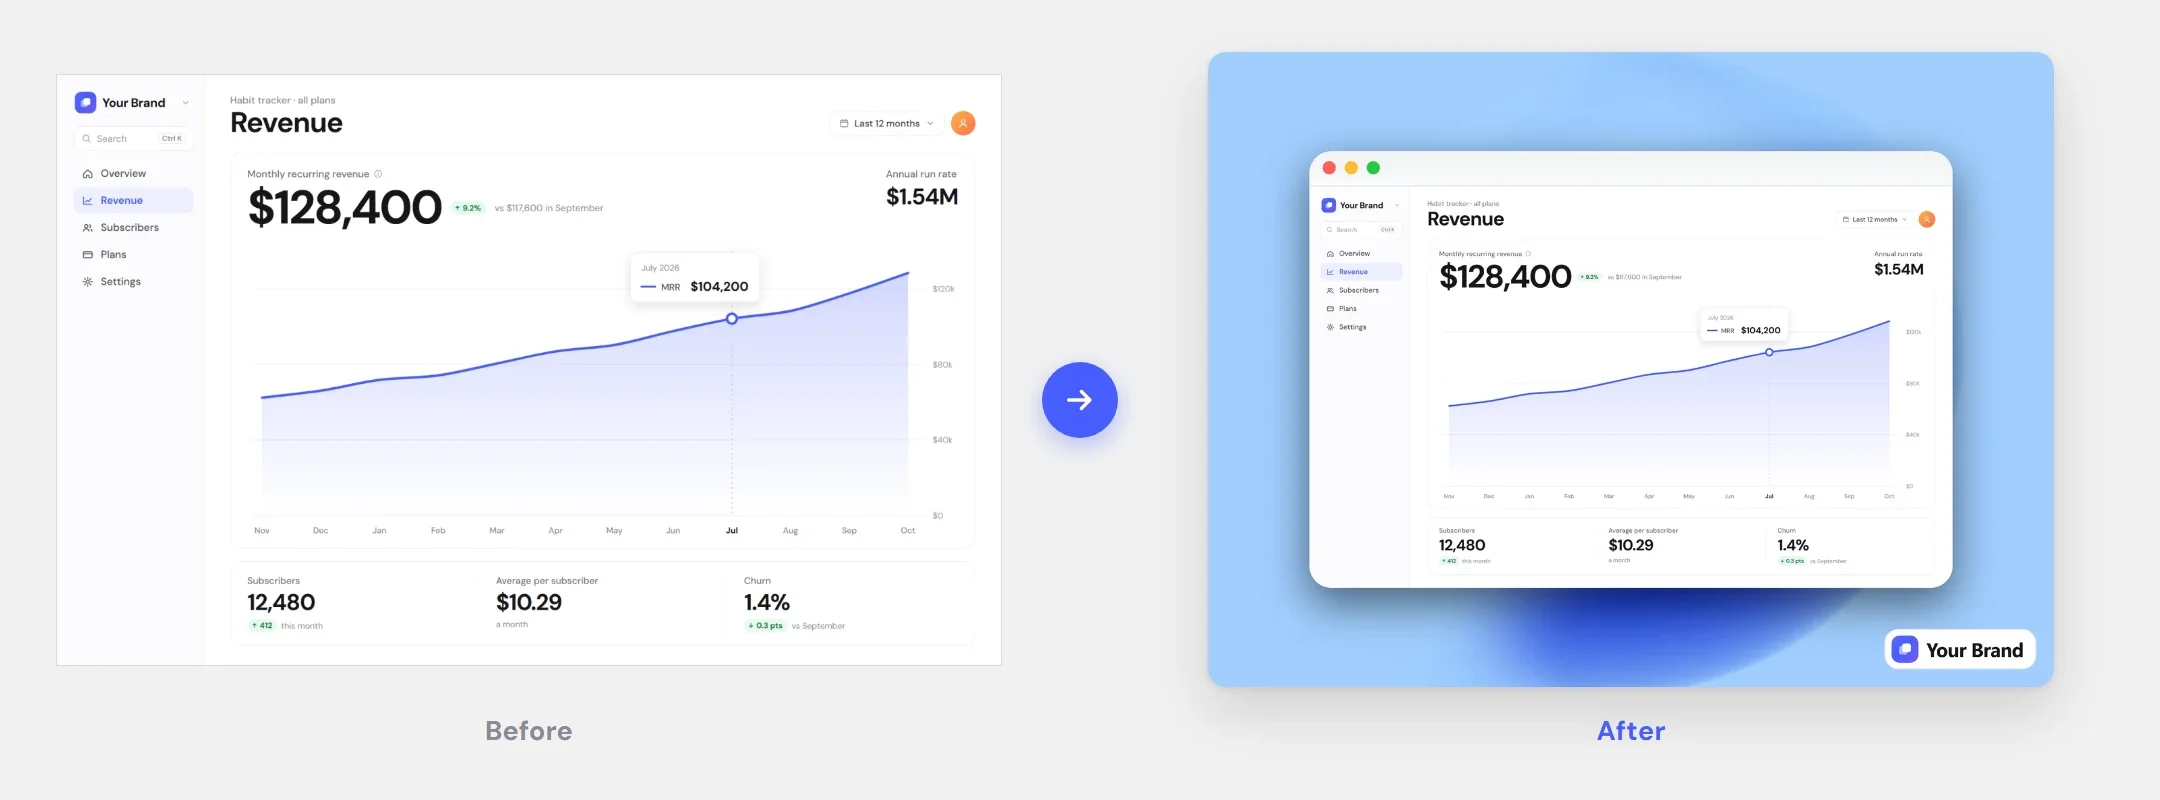
A raw capture runs straight into the edge of the image, which reads as clipped rather than framed. Give it a margin of about 5% of the shorter side, equal on all four sides — roughly 45 px on a 1440 × 900 capture — and put one calm background behind it, clearly lighter or darker than the interface. The reasoning, and the four other faults that make a screenshot look unfinished, are in why your screenshot looks cheap.
4. Frame it, then add a shadow
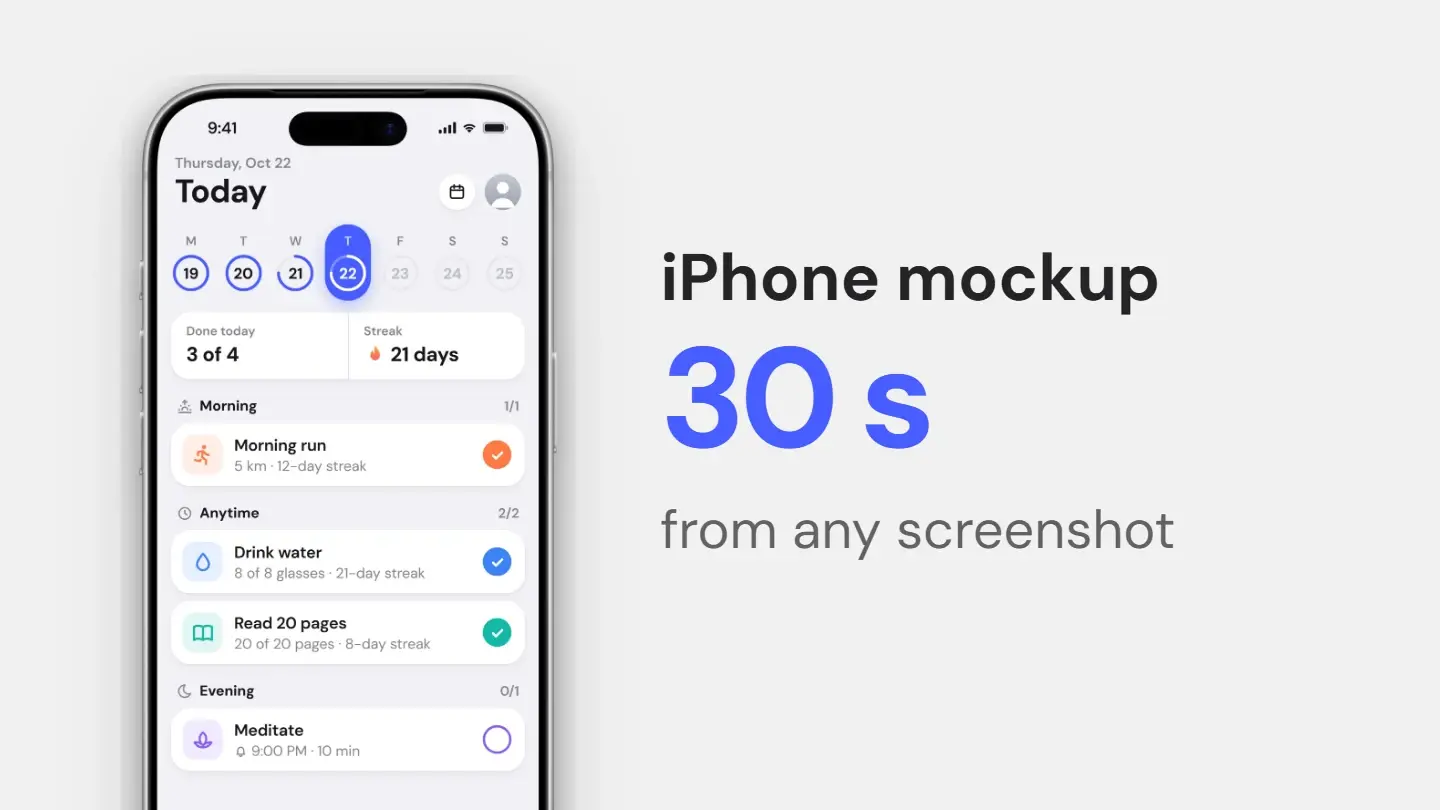
A frame tells the viewer what they are looking at: a macOS window for a desktop app, a browser window for a web page, a phone or tablet for a mobile capture. Round the corners to match the thing you are imitating, then give the result a shadow that falls downward — blur about two to three times the offset, opacity under about 15% — rather than a glow on every side.
5. Export at 2x, in the right format
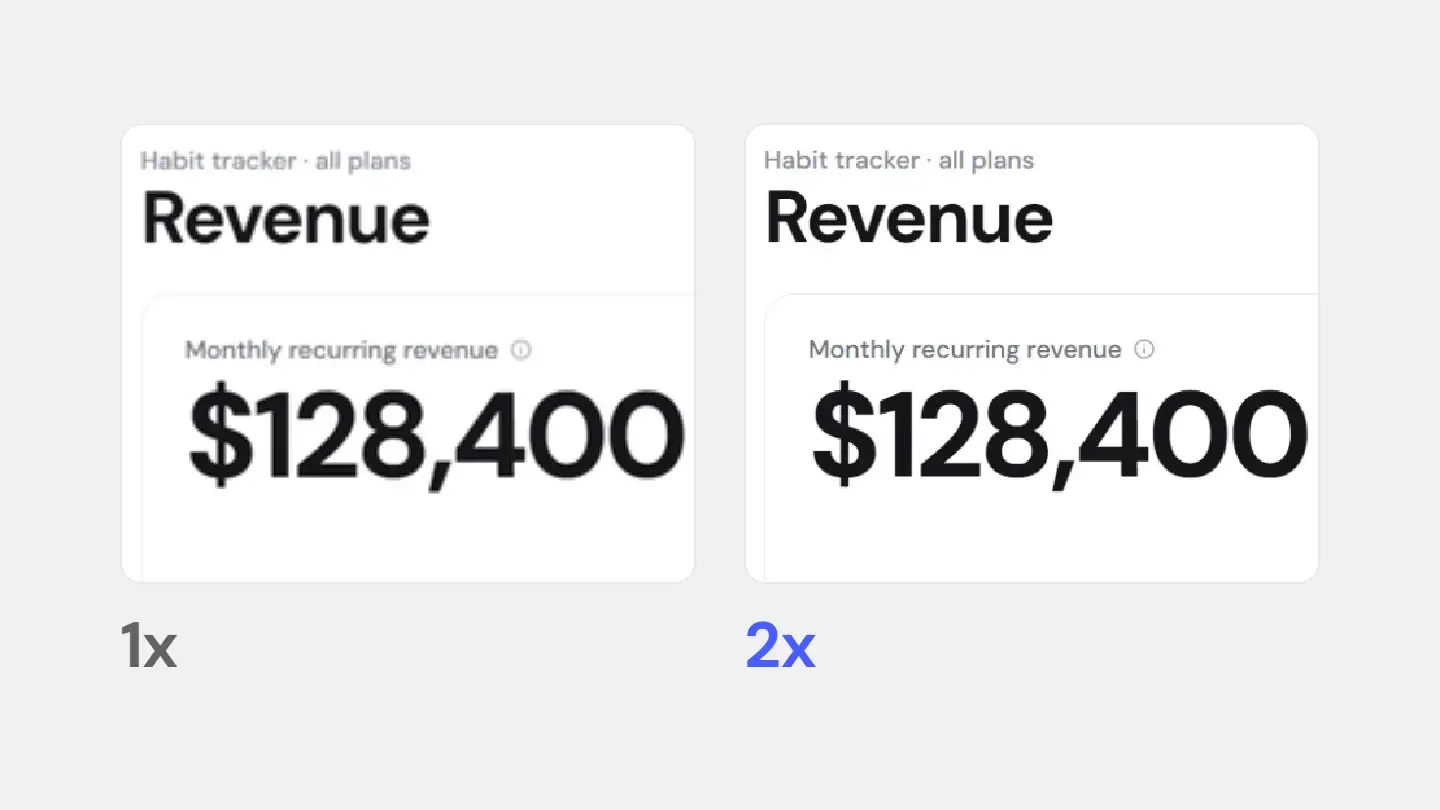
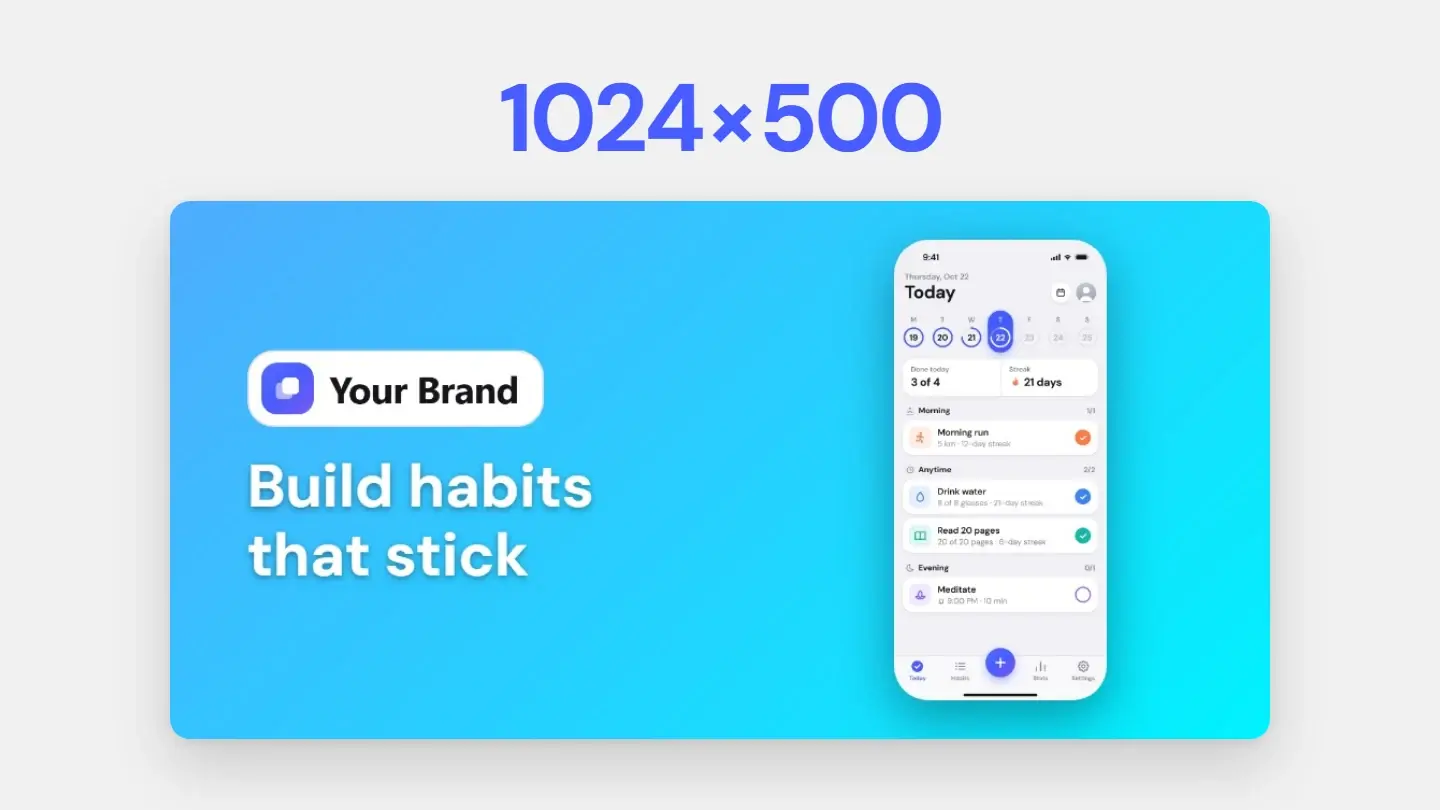
Export at twice the size the image will be shown. A 1x file on a 2x screen is stretched by the browser, and small text goes soft first. For the web, lossless WebP keeps every pixel at about 40% less weight than PNG — measured in the format comparison — and PNG covers everywhere WebP is not accepted. The App Store and Google Play reject transparency, so for a listing export a JPG or a PNG without an alpha channel, at the store’s exact size: the sizes are in the App Store and Google Play size guide.
Doing it in the browser
Screenshots.Guru does steps two to five in one place: drop the screenshot in, hide what needs hiding with Blur & mark up, pick a background, a frame and a shadow, and export at 2x or at an exact store size. Styling and export happen in your browser, so the screenshot is never uploaded. To try it on your own screenshot without an account, use the free editor: it has backgrounds, size and rounding, and one export with a watermark.
Edit it in one place
Hide what is private, add a background, a frame and a shadow, and export at 2x — in the browser.