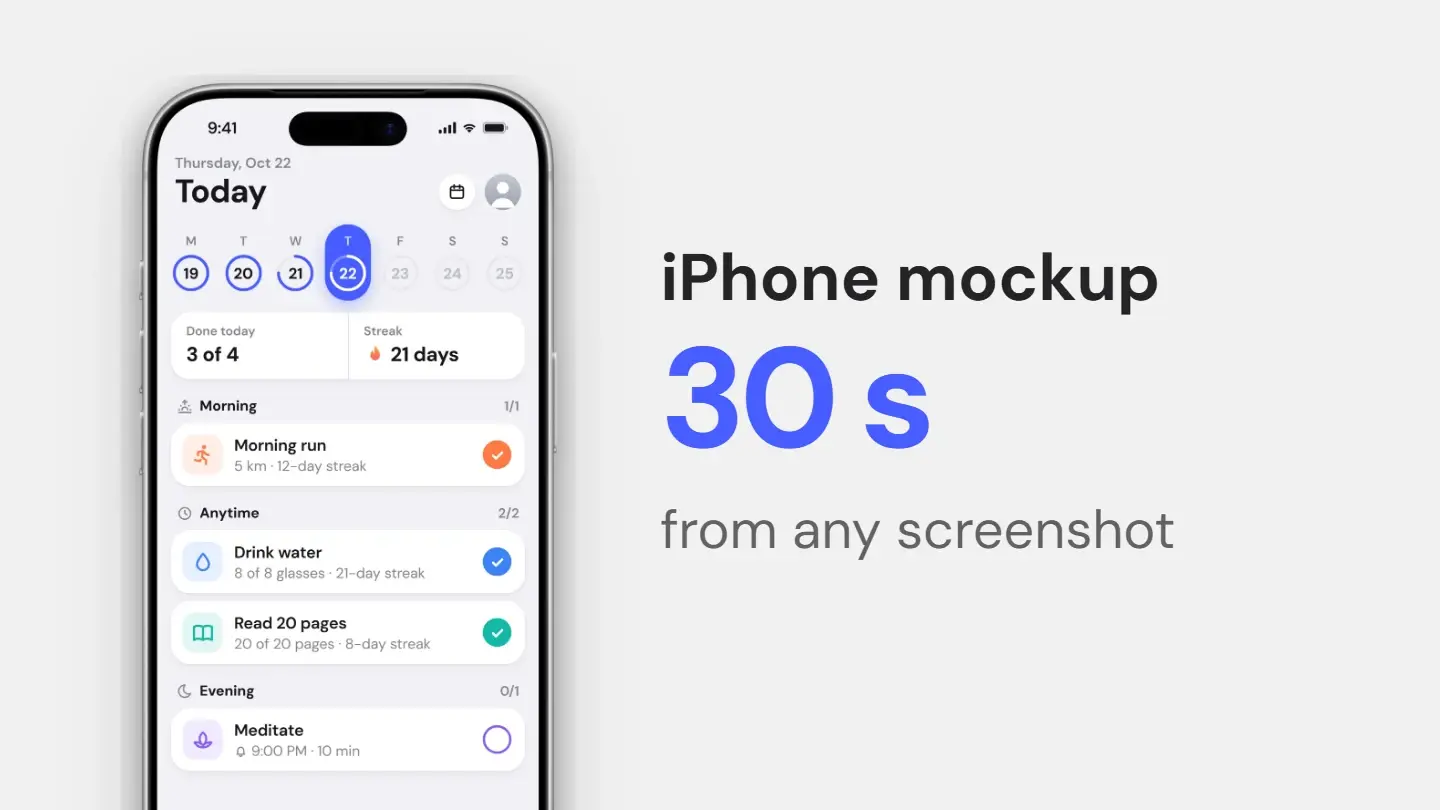
The short answer
Start from a screenshot taken on an iPhone, then put it in a frame: a Figma template, a Photoshop mockup or an online mockup generator. The first two take a few minutes and a design app; the third takes about 30 seconds in a browser. Whichever you choose, a screenshot of the same shape as the phone’s screen fits without cropping, and an export at 2x or more stays sharp wherever it is posted.
Three ways to make an iPhone mockup
Swipe the table to see more →
| Way | You need | Time | Best for | Watch out for |
|---|---|---|---|---|
| Figma template | A Figma account and a template | 5–10 minutes the first time | Layouts with several screens | The template's licence and credit line |
| Photoshop mockup | Photoshop and a PSD | About 5 minutes | Angled scenes that need real perspective | A subscription and the pack's licence |
| Online generator | A browser | About 30 seconds | Posts, docs and store screenshots | Whether your screenshot gets uploaded |
A Figma template
Search the Figma Community for an iPhone mockup, open the file in your account and find the screen layer — usually a rectangle with an image fill. Select it, replace the image with your screenshot and set the fill to Fill or Crop so it covers the screen, then export the frame as PNG at 2x or 3x. Check the file’s licence before you publish: many community mockups are CC BY 4.0, which means crediting the author wherever you use them. Apple publishes its own product bezels in Apple Design Resources, under terms of their own — read them before you use those files.
A Photoshop mockup
Mockup PSDs keep the screen in a smart object. Double-click its thumbnail in the Layers panel, place your screenshot in the document that opens, then save and close it: the mockup updates, warped to the screen’s perspective if the scene is angled. That warp is the main reason to use a PSD; the cost is a Photoshop subscription and a pack whose licence covers your use.
An online mockup generator
In Screenshots.Guru, drop the screenshot into the editor, open Device and pick an iPhone under Frame: iPhone 18 Pro and Pro Max, iPhone 17, 17 Pro and 17 Pro Max, iPhone Air, iPhone 15 Pro and Pro Max, or one of six angled poses under iPhone 3D. The screenshot fills the screen, the Screenshot size slider scales the phone, and a background and a shadow finish it. In the angled poses the editor warps the screenshot to the screen’s perspective, as a mockup PSD does. Styling and export happen in your browser, and the screenshot is never uploaded. Every device is on the mockups page.
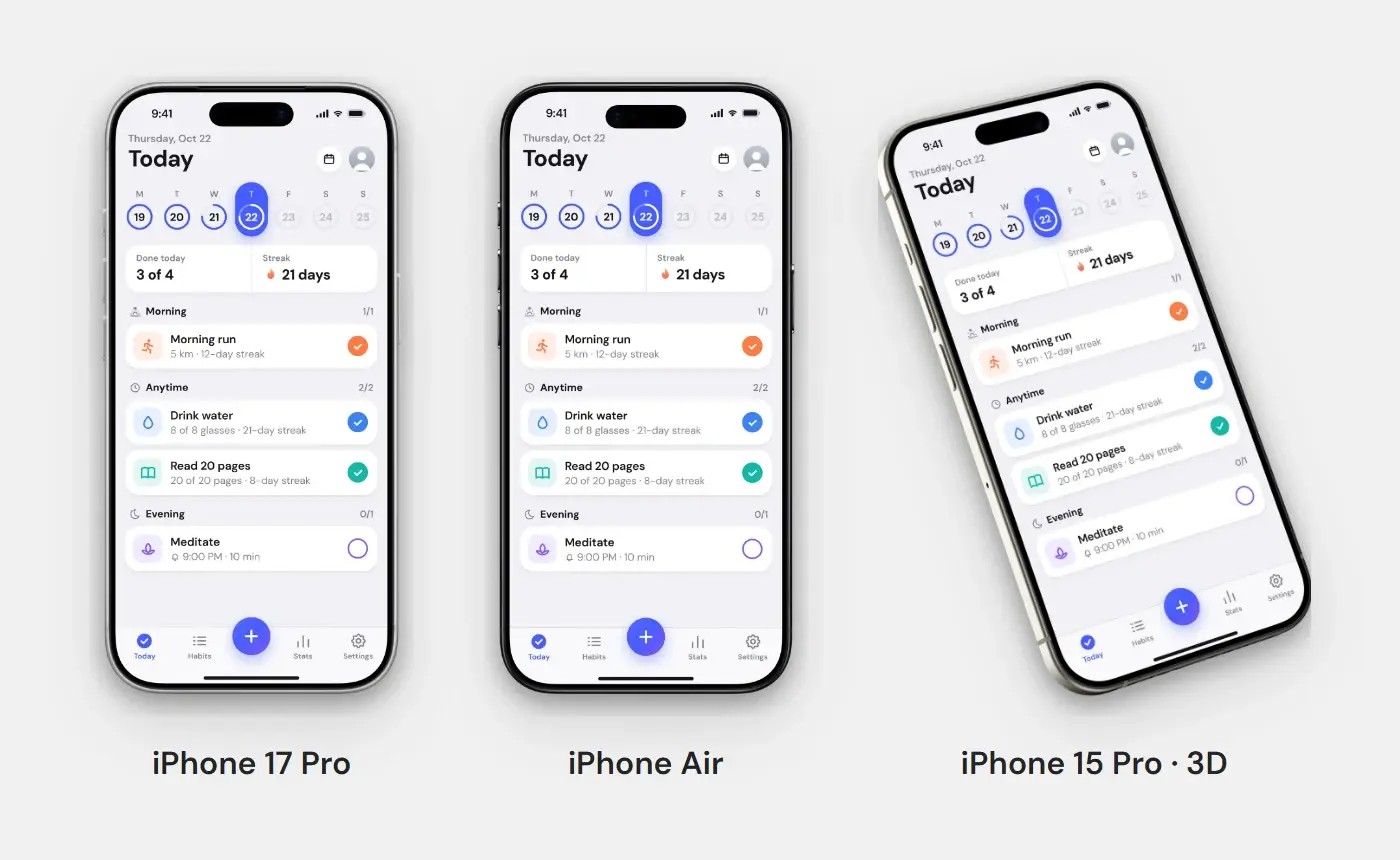
Make the screenshot fit the screen
A mockup’s screen has the shape of the real display, so the easiest fit is a screenshot from that phone: an iPhone 17 Pro saves screenshots at 1206 × 2622 pixels, exactly the shape of its screen. A screenshot from another model, an Android phone or a resized browser window has a slightly different ratio, and the mockup crops the difference at the top or the bottom.
Mind the Dynamic Island. On recent iPhones it sits over the top centre of the screen, where a real screenshot has the status bar. If your image is a crop without a status bar, leave a strip of empty space at the top, or the island will cover your content. And if the screenshot comes from a desktop or web app, an iPhone is the wrong frame: use a MacBook or a browser window instead.
Export for where it goes
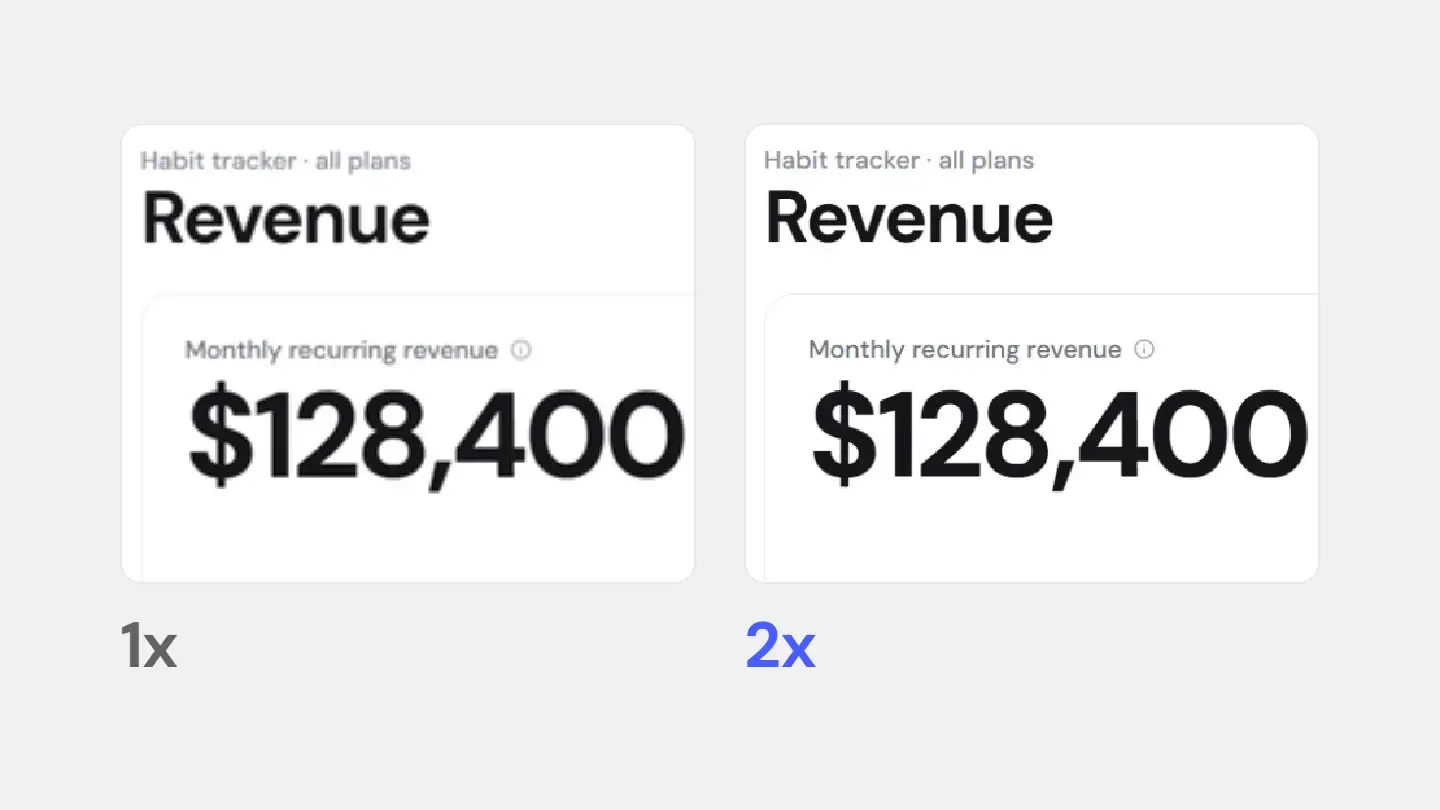
For a post, a slide or a landing page, export at 2x as PNG or lossless WebP. For the App Store, export at the store’s exact size instead — 1320 × 2868 and 1206 × 2622 for iPhone, as JPG or as a PNG without an alpha channel. The full list is in the App Store and Google Play size guide, and Store set makes the whole set, a caption per screen, in one ZIP.
Put it in an iPhone in 30 seconds
Drop your screenshot in, pick an iPhone in the Device panel, and export at 2x.